
Homemade beeswax candles bring a touch of warmth and natural fragrance to any home. As an eco-friendly alternative to paraffin, beeswax not only burns cleaner but also purifies the air by releasing negative ions, making it a superior choice for health-conscious and environmentally aware crafters. This guide will walk you through the rewarding process of making your own beeswax candles, from the initial gathering of high-quality materials to the final touches that personalize your creation.
Crafting candles at home allows you to control ingredients, customize designs, and create a product that reflects your personal style and values. By following this guide, you will learn the essential techniques and tips needed to produce beautiful, long-lasting beeswax candles. Whether you’re a beginner looking to start a new hobby or an experienced maker aiming to refine your skills, this guide will provide you with the knowledge to succeed in the art of candle making.
1. Choosing the Right Materials
To embark on your journey of making homemade beeswax candles, the first step is to choose the right materials. The quality of the beeswax and the type of wick you select are crucial factors that will affect the burning time, scent, and overall quality of your candles.
Beeswax for Candles
Beeswax is available in several forms, including pellets, blocks, and sheets, each suitable for different types of candle projects. When selecting beeswax, look for pure, naturally filtered options that retain their natural scent and color. The purity of beeswax can greatly influence the burn quality and the emission of natural honey-like fragrances as the candle burns.
Candle Wicks for Beeswax
The choice of wick is another critical decision in candle making. Beeswax candles perform best with wicks that are specifically designed for this denser wax. Cotton wicks are commonly used because they burn cleanly and support an even melt pool. The size of the wick should correspond to the diameter of the candle you intend to make; a wick that’s too small may drown out, while one that’s too large can cause uneven burning and dripping.
By selecting high-quality beeswax and the appropriate wicks, you set a solid foundation for successful candle making. These initial choices will help ensure that your beeswax candles burn beautifully, last longer, and fill your space with their natural, soothing aroma.
2. Essential Tools and Setup
Having the right tools and a well-organized workspace is fundamental to the candle making process. Not only does it streamline the crafting experience, but it also ensures safety and quality in your finished products.
Candle Making Equipment
A comprehensive set of tools is key to efficiently making candles. Essential equipment includes:
- Melting pot: Preferably a double boiler for gently melting the beeswax. Direct heat can degrade beeswax quality by burning it, which affects the scent and color.
- Thermometer: Critical for monitoring the wax temperature. Beeswax should be heated to about 145-170°F (63-77°C) for optimal pouring. Overheating can lead to discoloration and affect the fragrance.
- Molds: These come in various shapes and sizes, from standard pillars to intricate decorative designs. Silicone molds are popular for their ease of use and durability.
- Scale: Precision is crucial in candle making. A digital scale ensures you use the exact amount of wax and fragrance oil needed for consistent results.
Workspace Setup
Setting up your workspace effectively can significantly enhance your productivity and safety:
- Ventilation: Beeswax emits natural, albeit minimal, fumes when melted. Ensuring good ventilation keeps the air in your crafting area fresh.
- Organization: Keep your tools and materials neatly organized. This not only speeds up the process but also minimizes the risk of accidents.
- Safety equipment: Always have safety goggles and heat-resistant gloves. Hot wax can splash, and these precautions prevent burns.
Importance of Precision and Safety
According to industry reports, precise measurements and adherence to safety guidelines can improve product quality and reduce waste in candle making by up to 30%. Moreover, organized work environments are associated with a 50% lower incidence of accidents in the crafting sector.
By equipping your workspace with the necessary tools and organizing it efficiently, you can ensure a safer, more enjoyable, and productive candle making experience.
3. Step-by-Step Candle Making Process
Candle making can seem daunting at first, but understanding each step in the process can demystify the experience and enhance your crafting journey. Here are the key phases of making beeswax candles, addressing common questions and concerns along the way.
Melting the Beeswax
Q: What’s the best way to melt beeswax? A: Use a double boiler to melt beeswax gently. This method helps maintain the integrity of the wax by preventing it from overheating, which can affect the scent and color. The ideal temperature for melting beeswax is between 145-170°F (63-77°C). Always use a thermometer to monitor the wax temperature accurately.
Pouring the Wax
Q: How do I know when to pour the wax into molds? A: Once the beeswax is completely melted and reaches the correct temperature, it’s ready to be poured. Ensure that the wax is not too hot, as pouring overheated wax can cause it to cool unevenly, leading to cracks and other imperfections in the final product.
Setting the Wicks
Q: What is the best way to secure the wick? A: Before pouring the wax, secure the wick in the center of the mold. You can use a wick holder or a simple homemade guide like a pencil or skewer to keep the wick upright and centered. This is crucial for ensuring the candle burns evenly.
Cooling and Releasing
Q: How long should beeswax candles cool? A: Allow the candles to cool slowly at room temperature, away from drafts, which can take several hours depending on the size of the candles. Rushing this process can lead to uneven surfaces or cracks.
Finishing Touches
Q: How can I fix surface imperfections after the candle has cooled? A: Minor imperfections on the surface of beeswax candles can often be smoothed out with a heat gun or by carefully reheating the top surface with a lighter. This should be done very sparingly and carefully to avoid overheating the wax.
Understanding these steps and addressing common concerns helps ensure that the candle making process is enjoyable and that the end results are beautiful and functional beeswax candles. This hands-on approach not only provides a rewarding crafting experience but also offers a deeper appreciation for the art of candle making.
4. Customizing Your Candles
Creating a personalized candle goes beyond basic candle making; it involves adding unique touches that reflect personal tastes or suit specific decor themes. Here’s how you can add that special touch to your beeswax candles.
Adding Scents to Beeswax Candles
Q: What are the best scents for beeswax candles, and how do I add them? A: Beeswax naturally has a subtle, sweet fragrance reminiscent of honey. To enhance this, you can add essential oils such as lavender, vanilla, or citrus. The best time to mix in these oils is when the beeswax has melted and is slightly cooled just before pouring. For every pound of beeswax, use about 30 drops of essential oil for a mild scent or adjust according to your preference.
Coloring Your Candles
Q: How can I color my beeswax candles? A: While the natural golden hue of beeswax is attractive, adding colors can personalize your candles further. Use natural dye blocks or oil-soluble dyes designed for candle making, adding the dye to the melted wax and stirring well before pouring. Remember, a little goes a long way with dye, so start with a small amount and adjust as needed.
Textural Elements
Q: Can I add items like herbs or flowers to my candles? A: Embedding small, dry decorative elements such as dried herbs, flowers, or spices can add a charming touch to your candles. These should be placed in the mold before pouring the wax. Ensure that any added materials are completely dry and non-flammable to maintain safety during the candle’s burn.
5. Packaging and Storing Beeswax Candles
The final steps in your candle making process involve packaging your creations for storage or presentation, which can significantly impact their longevity and appeal.
Effective Packaging Techniques
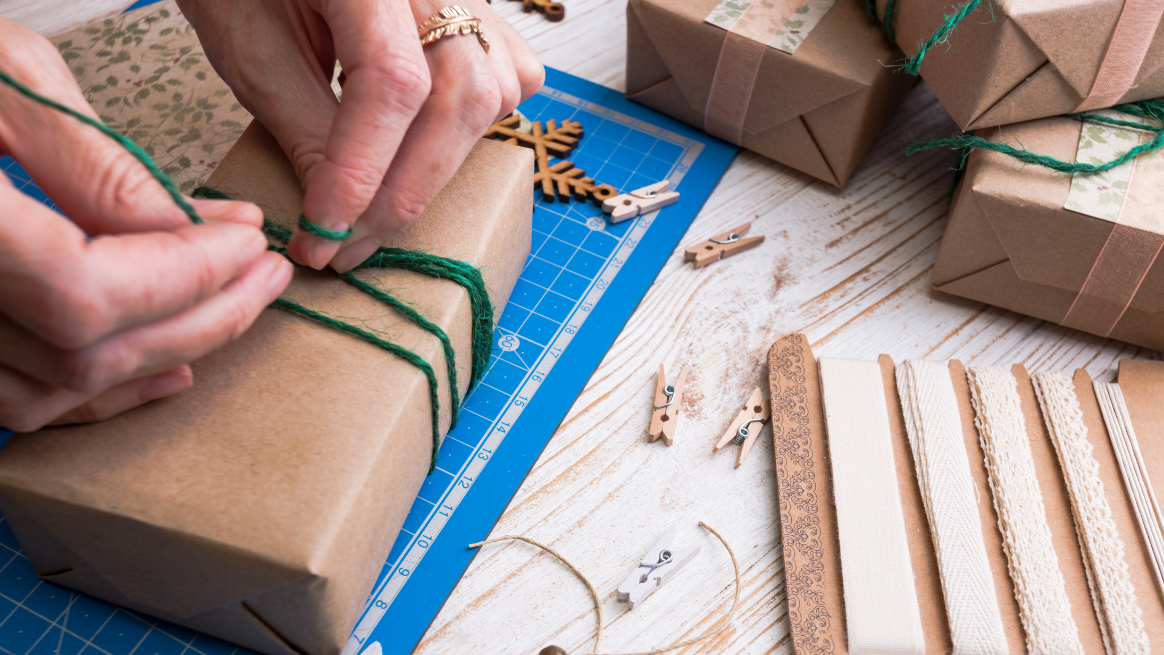
Q: What are the best methods to package beeswax candles? A: For packaging, consider eco-friendly materials that complement the natural aspects of beeswax. Kraft paper, linen bags, or simple boxes work well. Ensure the packaging is tight enough to protect the candles from dust and light, but loose enough to prevent any distortion of the shape.
Best Practices for Candle Storage
Q: How should I store my beeswax candles to maintain their quality? A: Store your beeswax candles in a cool, dark place to preserve their scent and color. Avoid high temperatures or direct sunlight, which can cause the wax to soften or melt. Additionally, if storing long-term, wrapping the candles in acid-free tissue paper can help prevent dust buildup and protect the surface.
By following these guidelines on customizing, packaging, and storing your beeswax candles, you can ensure that each candle is not only a delight to make but also a beautiful, functional piece to use or give as a gift. Whether you’re crafting candles for personal use or as part of a business, these touches can differentiate your products in a crowded market and create memorable, enjoyable experiences for everyone involved.
Conclusion
Embarking on the journey of making homemade beeswax candles offers not only a way to craft beautiful, natural products but also an opportunity to infuse personal creativity into each piece. From selecting the right materials like high-quality beeswax and appropriate wicks to mastering the melting and pouring process, each step plays a crucial role in the final outcome of your candles. Customizing your candles with unique scents, colors, and textures allows for personal expression and can transform a simple beeswax candle into a tailored work of art. Moreover, proper packaging and storage are essential to preserving the quality and extending the life of your candles, ensuring they remain a source of delight whether for personal use or as thoughtful gifts.
Whether you are a beginner looking to start a new hobby or an experienced crafter seeking to refine your skills, the art of candle making is both rewarding and enjoyable. As you continue to explore and experiment with different techniques and designs, remember that each candle you create is a reflection of your individuality and craftsmanship.
If you found this guide helpful or have any of your creations to share, feel free to leave a comment or connect with us through our social media channels. We love seeing the beautiful candles you create and hearing about your experiences. Let’s keep the flame of creativity burning bright in the candle-making community!


